 Save
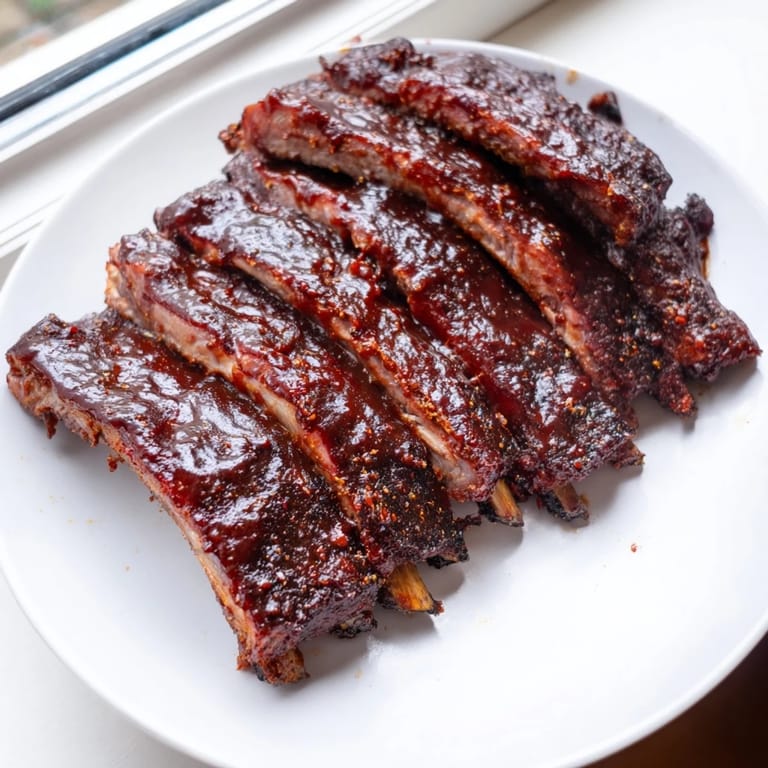
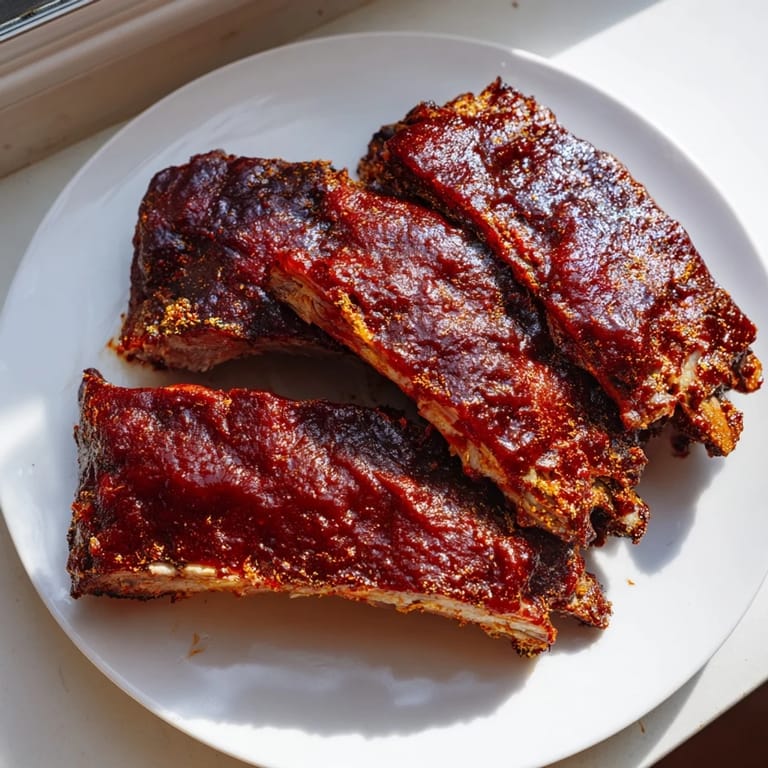
Save My neighbor Marcus invited us over one summer evening, and the first thing that hit me when I walked into his backyard wasn't the heat or the noise—it was the smell of ribs slow-cooking in his oven. I'd never thought about making ribs at home before, always assuming they needed a smoker or some fancy equipment. But watching him pull that tray out, the meat practically falling off the bone, I realized I'd been overthinking it the whole time. That night, I ate more than I should have and went home determined to master his technique.
The first time I made these for my own dinner party, I got nervous about the timing and pulled them out five minutes early. They were still good, but I remember thinking as I plated them that I'd been so focused on the clock I'd almost missed the little moment where my daughter wandered into the kitchen asking if they were ready yet. Now I always build in that extra buffer time, not just for the ribs but for the people watching them cook.
Ingredients
- Pork or beef ribs (1.5–2 kg / 3–4 lbs): Choose either—pork ribs are fattier and more forgiving, beef gives you deeper flavor and a slight chew. I learned to check the meat color; if it's bright red, it's fresher and will respond better to the long cooking time.
- Olive oil (2 tbsp): This carries the dry rub flavors right into the meat and helps the coating stick evenly.
- Brown sugar (2 tbsp): It caramelizes during cooking and adds a subtle sweetness that balances the spices without overpowering them.
- Smoked paprika (1 tbsp): This is the soul of the rub—use the good stuff if you can, the difference is worth it.
- Garlic powder (1 tsp): Finely ground, not coarse, so it coats evenly and doesn't disappear into the sauce.
- Onion powder (1 tsp): Works with the garlic to build a savory base layer that deepens as the ribs cook.
- Ground black pepper (1 tsp): Fresh cracked is ideal, but pre-ground works fine here.
- Salt (1 tsp): Use kosher salt if you have it; it distributes more evenly than table salt.
- Cayenne pepper (½ tsp, optional): Only add this if you want heat—it sneaks up as the ribs finish, which I love.
- Barbecue sauce (1 cup): Store-bought is perfectly fine, though homemade gives you control over sweetness and tang.
- Honey (2 tbsp): Adds gloss and depth when it caramelizes on the high heat finish.
- Apple cider vinegar (1 tbsp): The acid cuts through richness and brightens the whole dish.
Tired of Takeout? 🥡
Get 10 meals you can make faster than delivery arrives. Seriously.
One email. No spam. Unsubscribe anytime.
Instructions
- Set your stage:
- Preheat your oven to 150°C (300°F) and line a large baking sheet with aluminum foil—this saves you so much cleanup later. If your ribs have a thin papery membrane on the back, peel it off; it won't soften no matter how long you cook.
- Season with intention:
- Pat the ribs completely dry with paper towels, then rub them all over with olive oil. In a small bowl, mix your dry rub ingredients until they're evenly combined, then press the mixture firmly onto every surface of the ribs, getting it into the crevices.
- The slow cook:
- Place the ribs meat-side up on your prepared sheet, cover everything tightly with foil (this traps the steam and makes the meat impossibly tender), and slide them into the oven for 2 to 2½ hours. The meat should pull away from the bones easily when you test it with a fork, but it shouldn't fall apart yet.
- Make your glaze:
- While the ribs are cooking, whisk together your barbecue sauce, honey, and apple cider vinegar in a bowl. Taste it and adjust if needed—if it's too sweet, add more vinegar; if it seems thin, let it sit.
- The finish:
- When the ribs are nearly falling apart, increase your oven to 220°C (425°F) or get your grill to medium-high heat. Brush the ribs generously with your sauce mixture, then return them to the oven uncovered (or to the grill) for 10–15 minutes until the glaze caramelizes and turns sticky and dark. Brush once more halfway through.
- Rest and serve:
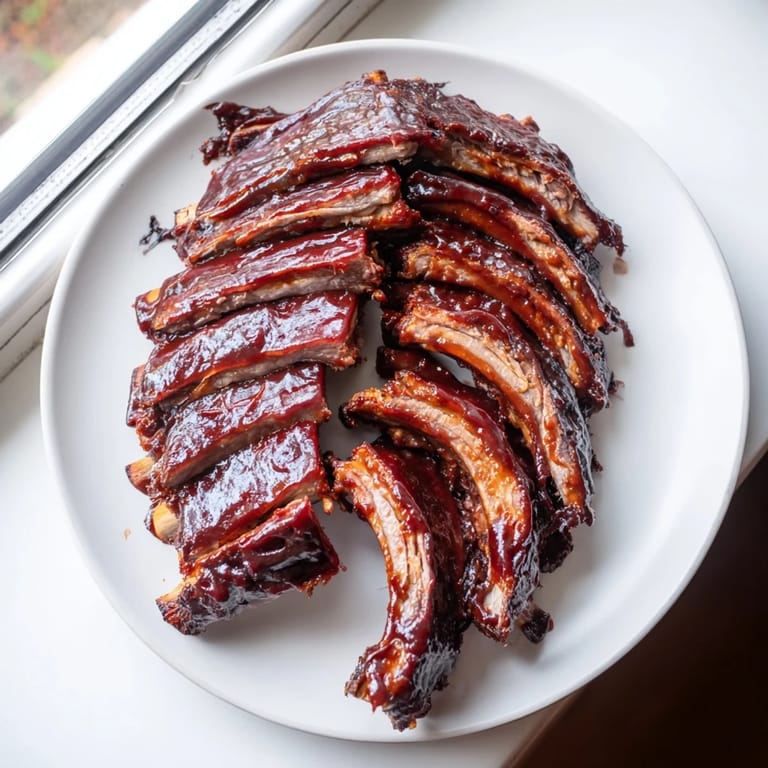
- Pull the ribs out and let them sit for 5 minutes—this rests the meat and makes slicing between the bones easier. Slice them up, pour extra sauce over everything, and watch people eat more than they planned to.
 Save
Save There was one Sunday when my attempt at grilling them after the oven step went sideways because I wasn't paying attention and the flame flared up. But you know what? The slightly charred spots were the best bites of the whole batch, and now I sort of intentionally aim for that char. That's when I realized cooking isn't about following rules perfectly—it's about learning what happens when you don't, and sometimes those accidents taste better than the plan.
Oven vs. Grill: Which Finish Works Best
I've done both, and honestly, the oven finish is more reliable if you're cooking for a crowd because you're not battling heat fluctuations or flare-ups. The glaze caramelizes evenly and the meat stays moist. That said, if you have access to a grill and some patience, indirect heat (cooking to the side of the flames, not directly over them) gives you that smoky layer that makes people's eyes light up. The oven version is foolproof; the grill version is theatrical.
Building Flavor Layers
What I've learned is that the dry rub does one job, and the glaze does another. The rub creates a flavorful crust and works its magic during the long, slow cook when the spices penetrate the meat. The glaze, added only at the end, gives you shine and extra sweetness without burning off the spices underneath. It's like layering—each element has its moment, and you don't want them fighting each other.
Serving and Storage Secrets
Ribs are best eaten warm and fresh, ideally straight from the oven or grill when people can still see the steam rising. If you're making them ahead (which happens to me all the time), wrap them tightly and refrigerate, then reheat gently in a low oven with a splash of water to keep them moist. They'll keep for three or four days, though I've never managed to have leftovers last that long.
- Pair them with something cool and crunchy like coleslaw to balance the richness.
- Cornbread or soft rolls are perfect for soaking up extra sauce.
- Baked beans round out the meal and feel complete without being complicated.
 Save
Save These ribs have become my go-to when I want to cook something that feels special but doesn't require me to have special equipment. There's something satisfying about pulling them out and knowing that patience and a good dry rub did almost all the work.
Recipe Questions & Answers
- → How do I make ribs tender and juicy?
Slow cooking ribs at a low temperature allows the connective tissues to break down, resulting in tender, juicy meat that easily pulls away from the bone.
- → What is the best way to apply the dry rub?
After patting the ribs dry, rub a thin layer of olive oil on the surface, then evenly coat with the dry rub mixture to enhance flavor penetration.
- → Can I grill ribs instead of baking?
Yes, after slow baking, finishing the ribs on a medium-high grill caramelizes the glaze and adds a smoky char for extra flavor.
- → How do I make the glaze sticky and caramelized?
Brush the ribs with the honey and sauce mixture, then cook uncovered at high heat or on the grill for 10–15 minutes, basting once, to develop a sticky caramel layer.
- → What sides pair well with these ribs?
Classic sides include coleslaw, cornbread, or baked beans, which complement the smoky and sweet flavors perfectly.
- → Can I substitute ingredients in the glaze?
Honey can be replaced with maple syrup for a different sweetness profile, and gluten-free barbecue sauces can be used if needed.